Not all homeowners consider installing a door as a new home adventure.
But, with the right tools and a few carpentry tips – extracted from some of our best experts – we can help you get the best possible results.
We’ve put together these tips below to give you a helping hand!
#1. Must-Have Door Installation Tools and Materials

Depending on the type of door you are installing, specific materials may already come with your door.
However, here are some basics:
- Door
- Door frame
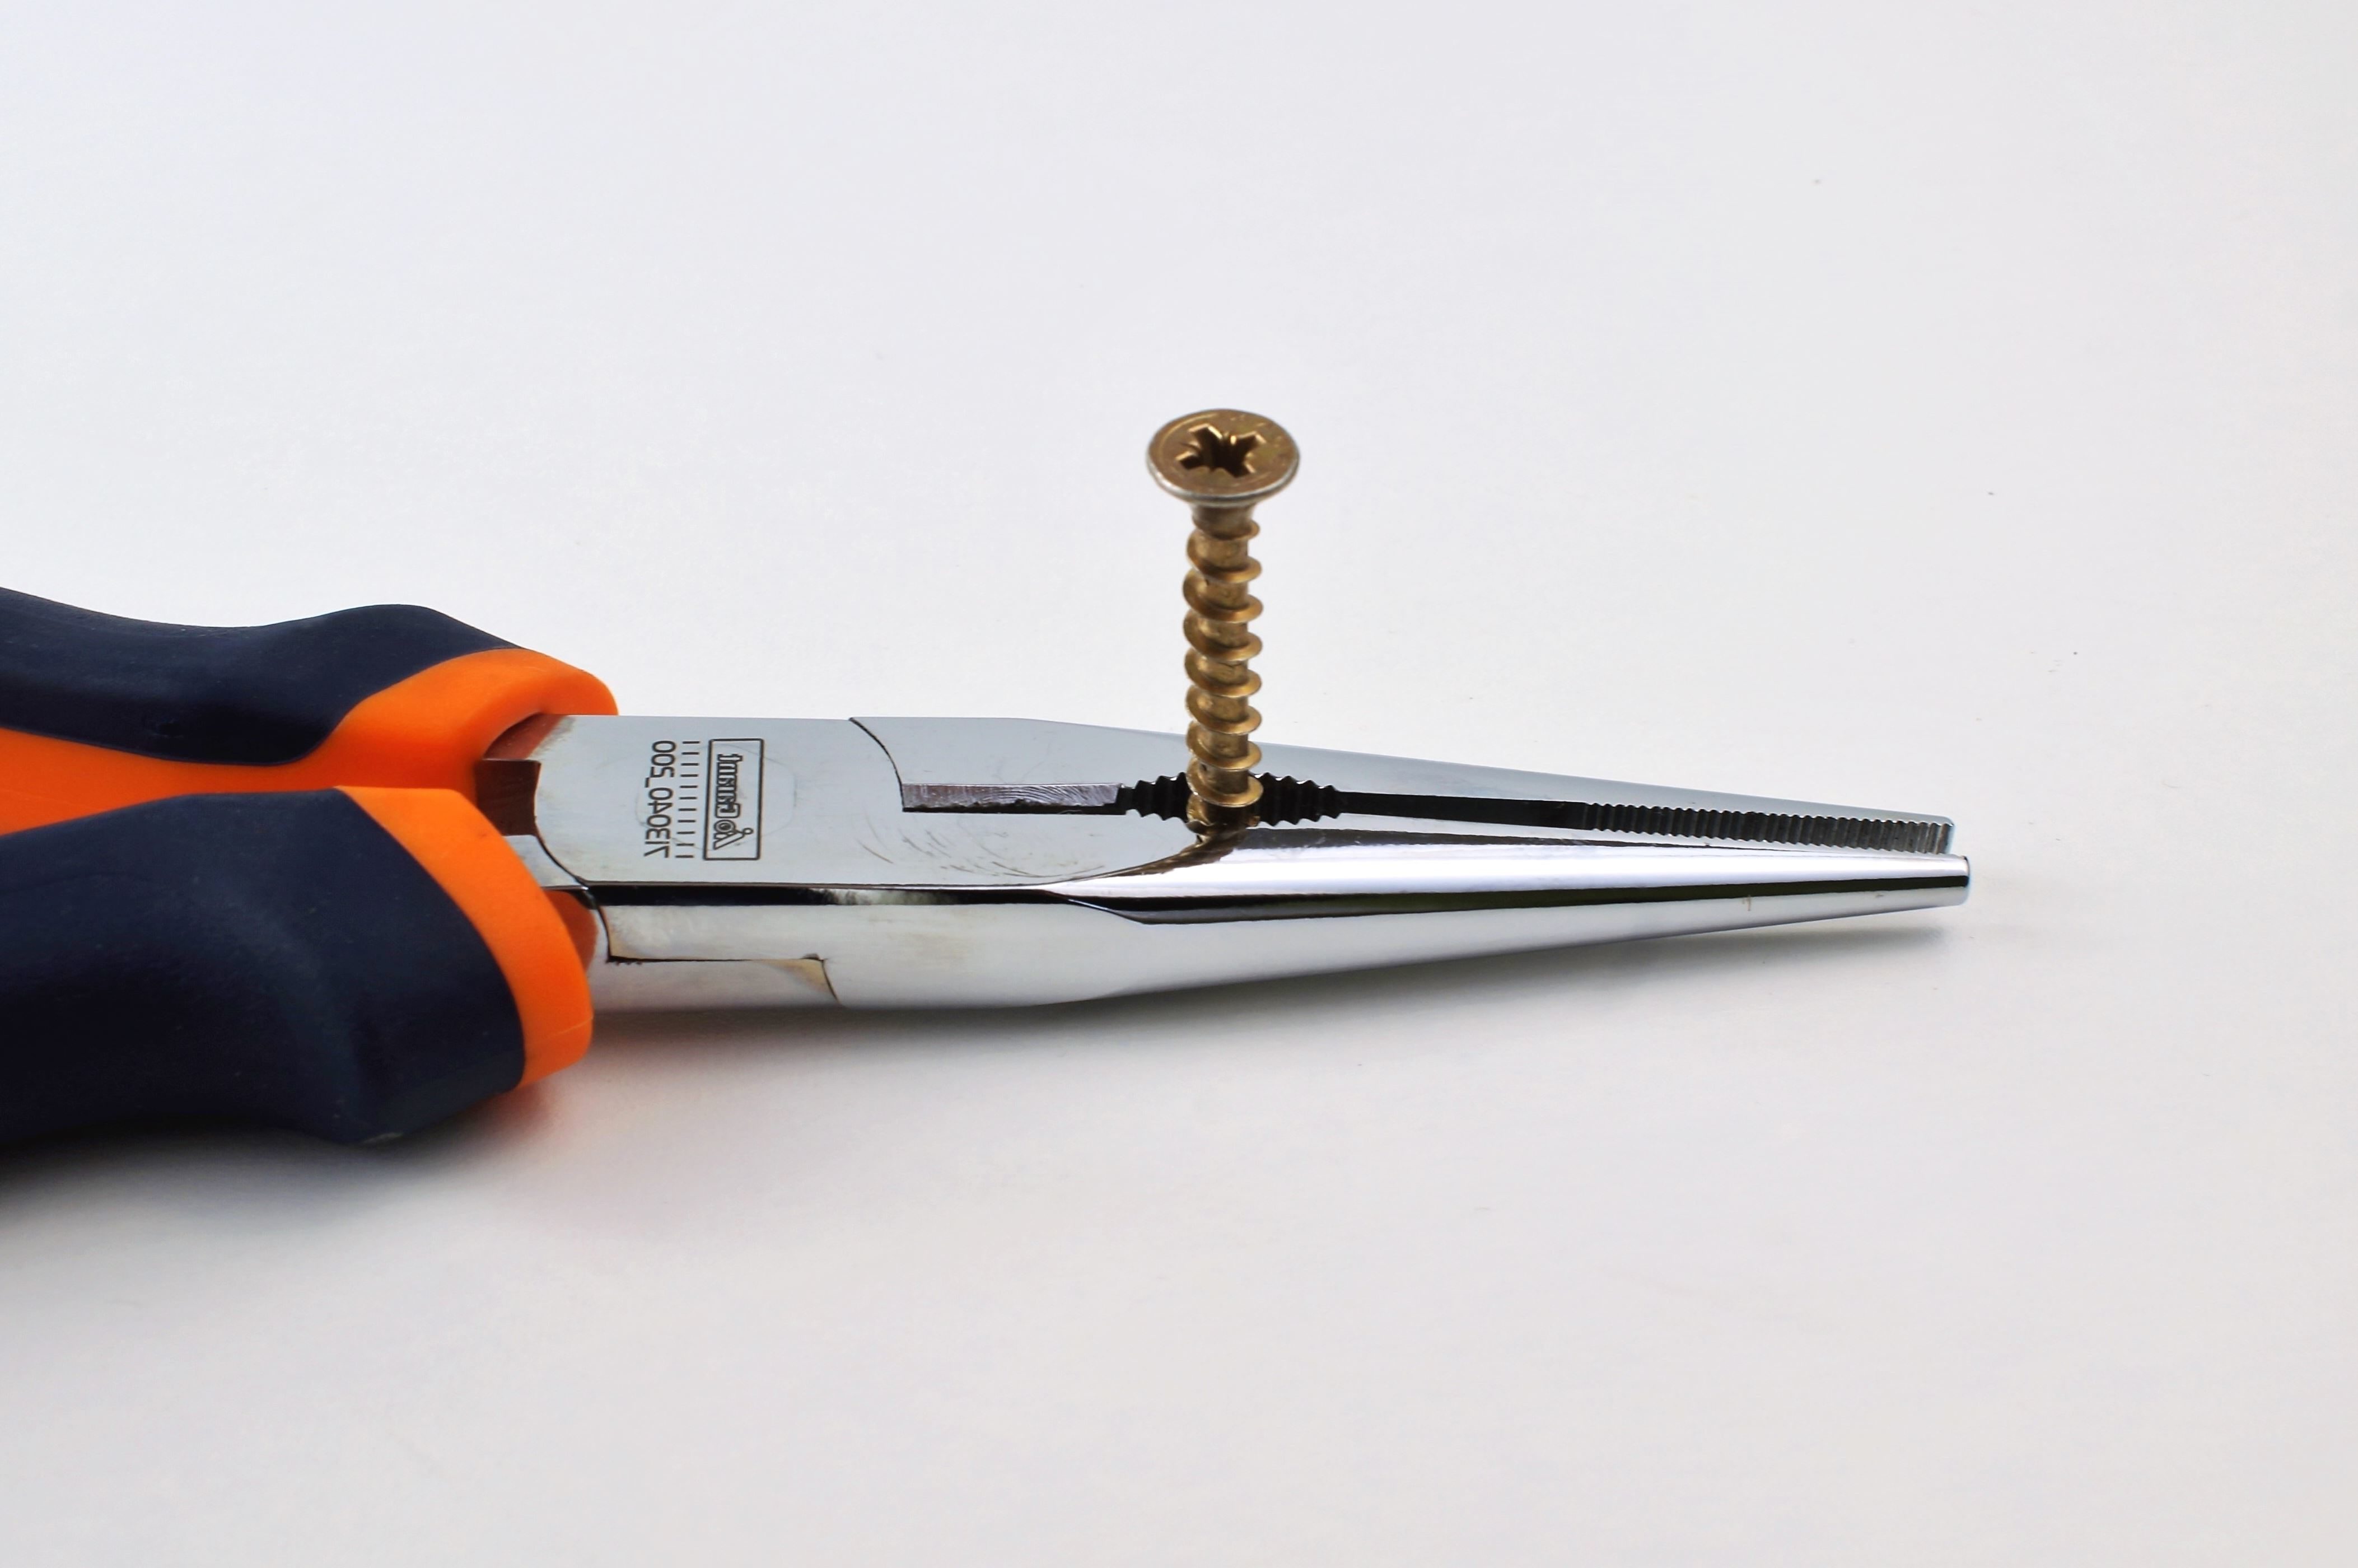
- Galvanized finish nails (various lengths)
- Screws (various lengths)
- Hardware and hinges (if you are using a simple door)
- Mallet
- Caulk
- Spare wood
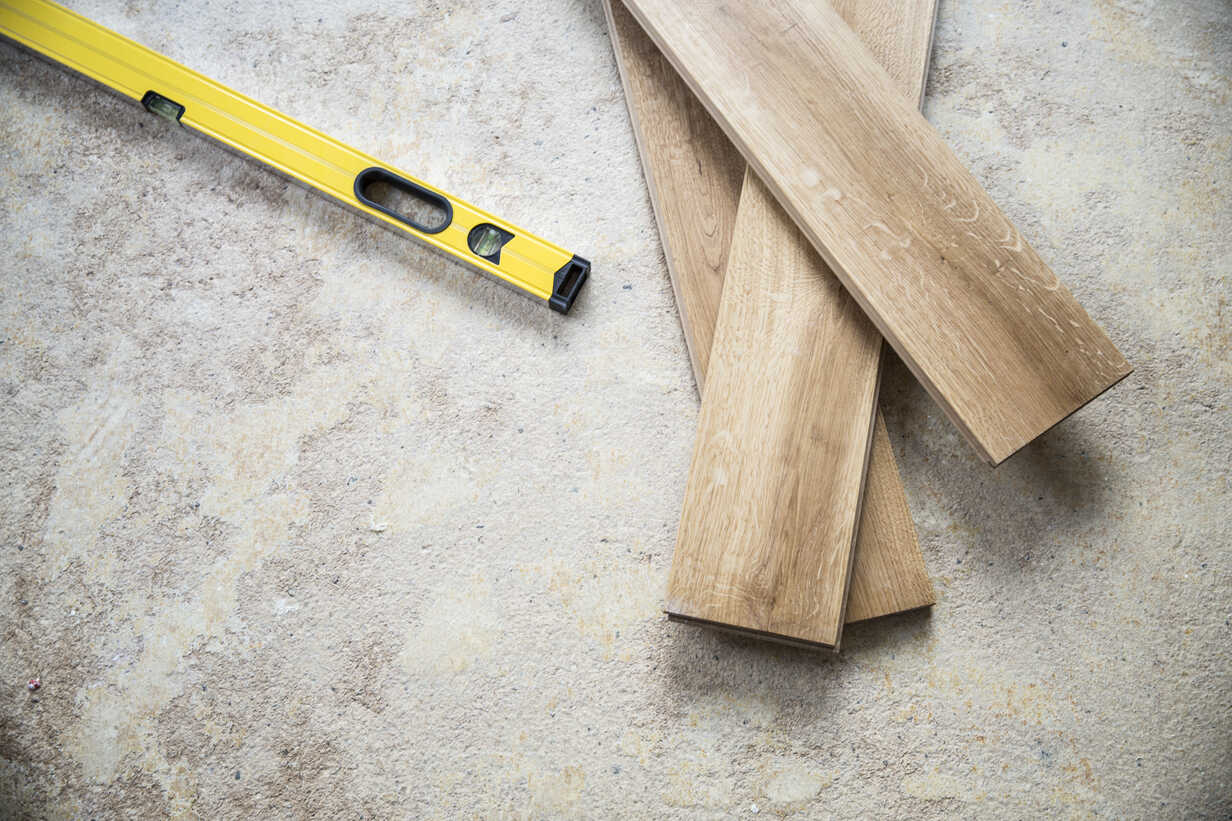
- Level
- Measuring instruments
- Pencil
- Screwdriver
- Hammer
- Saw
Special Note: When it comes to specialty doors, such as a sliding barn door, you will need more specialized equipment such as door rollers and a track. A more simple solution: buy a barn door or pocket door kit which comes with the necessary hardware. Or, contact RAM. Home Improvements LTD who can install that specialty door for you.
#2. Attach Door Hardware Before Installing the Door

If you opt for the simple door option, you will have to attach the hardware, even before getting rid of the old door or cutting the new doorway.
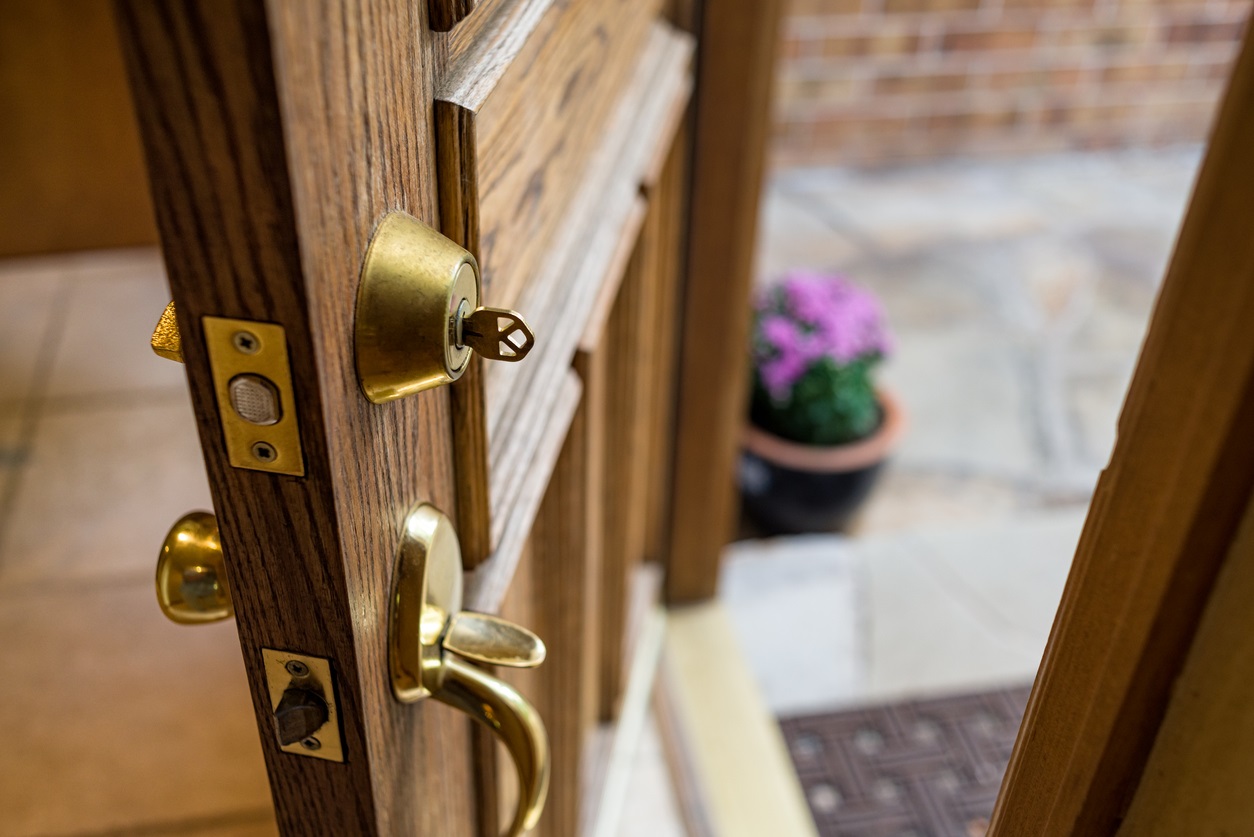
The hardware consists of the hinges, door handles, and locks and attaching them beforehand makes the whole process easier and smoother.
But, don’t forget to paint the door before adding any of the hardware.
#3. Remove the Old Door

Here’s a hassle-free guide to remove that old companion of yours:
- The starting process begins with removing the door hinge pins.
- Following with the removal of any hardware in the frame, such as the hinges, nails, and screws.
- Then, using a reciprocating saw between the door frame and the wall, try to cut any remaining nails or screws.
- With a gentle tap on the mallet, the frame will pop out easily without damaging the area around it.
- Cutting the frame into chunks makes the removing process easier.
#4. Measure the Opening

With the old door gone, it’s time now to measure the rough opening. From top to bottom, measure the height and the width of the opening.
Again, if your plan includes a barn door or pocket door, you will need to work out a few changes to the rough opening.
For instance, a barn door would require a frame and casing to cover the edges of the opening while to make room for a pocket door frame, you will need to remove the drywall from one side of the opening.
#5. Level the Floor

Don’t want to see one side of your door dragging on the floor?
The only way to make sure your door hangs evenly is by resting a level on the floor by the door opening. If the result still gives an uneven floor, cut the bottom off one of the jambs to help the door hang evenly.
You can also use shims, which are small pieces of angled wood material designed to prop the level until it becomes even.
#6. Use Temporary Blocks on the Door Jambs

Did you know that the use of temporary blocks along the door jambs can make the fitting and installation process much easier?
Cut or find five rectangles that are around 4 to 5 inches long and about ½ or 1 inch wide. Then, nail two to the hinge side and three to the latch side of the jamb.
Side Note: Temporary blocks are not recommended for the pre-hung door as they might leave visible holes.
#7. Test-Fit the Door in the Opening

Eventually, you’d want to test-fit the door before attaching it to the opening.
So, place the door in the opening and check if there’s any gap between the frame and rough opening. See whether the very top of the door structure is level. And, if all looks good, you can go ahead and secure it by nailing the temporary blocks to the wall.
Need help with your door installation project? Get the help of RAM. Home Improvements LTD.


I would like to have an impact door installed in my house for better protection. Thank you for sharing here as well the importance of choosing the right type of materials. I also agree with you that it will be smarter to measure it correctly.