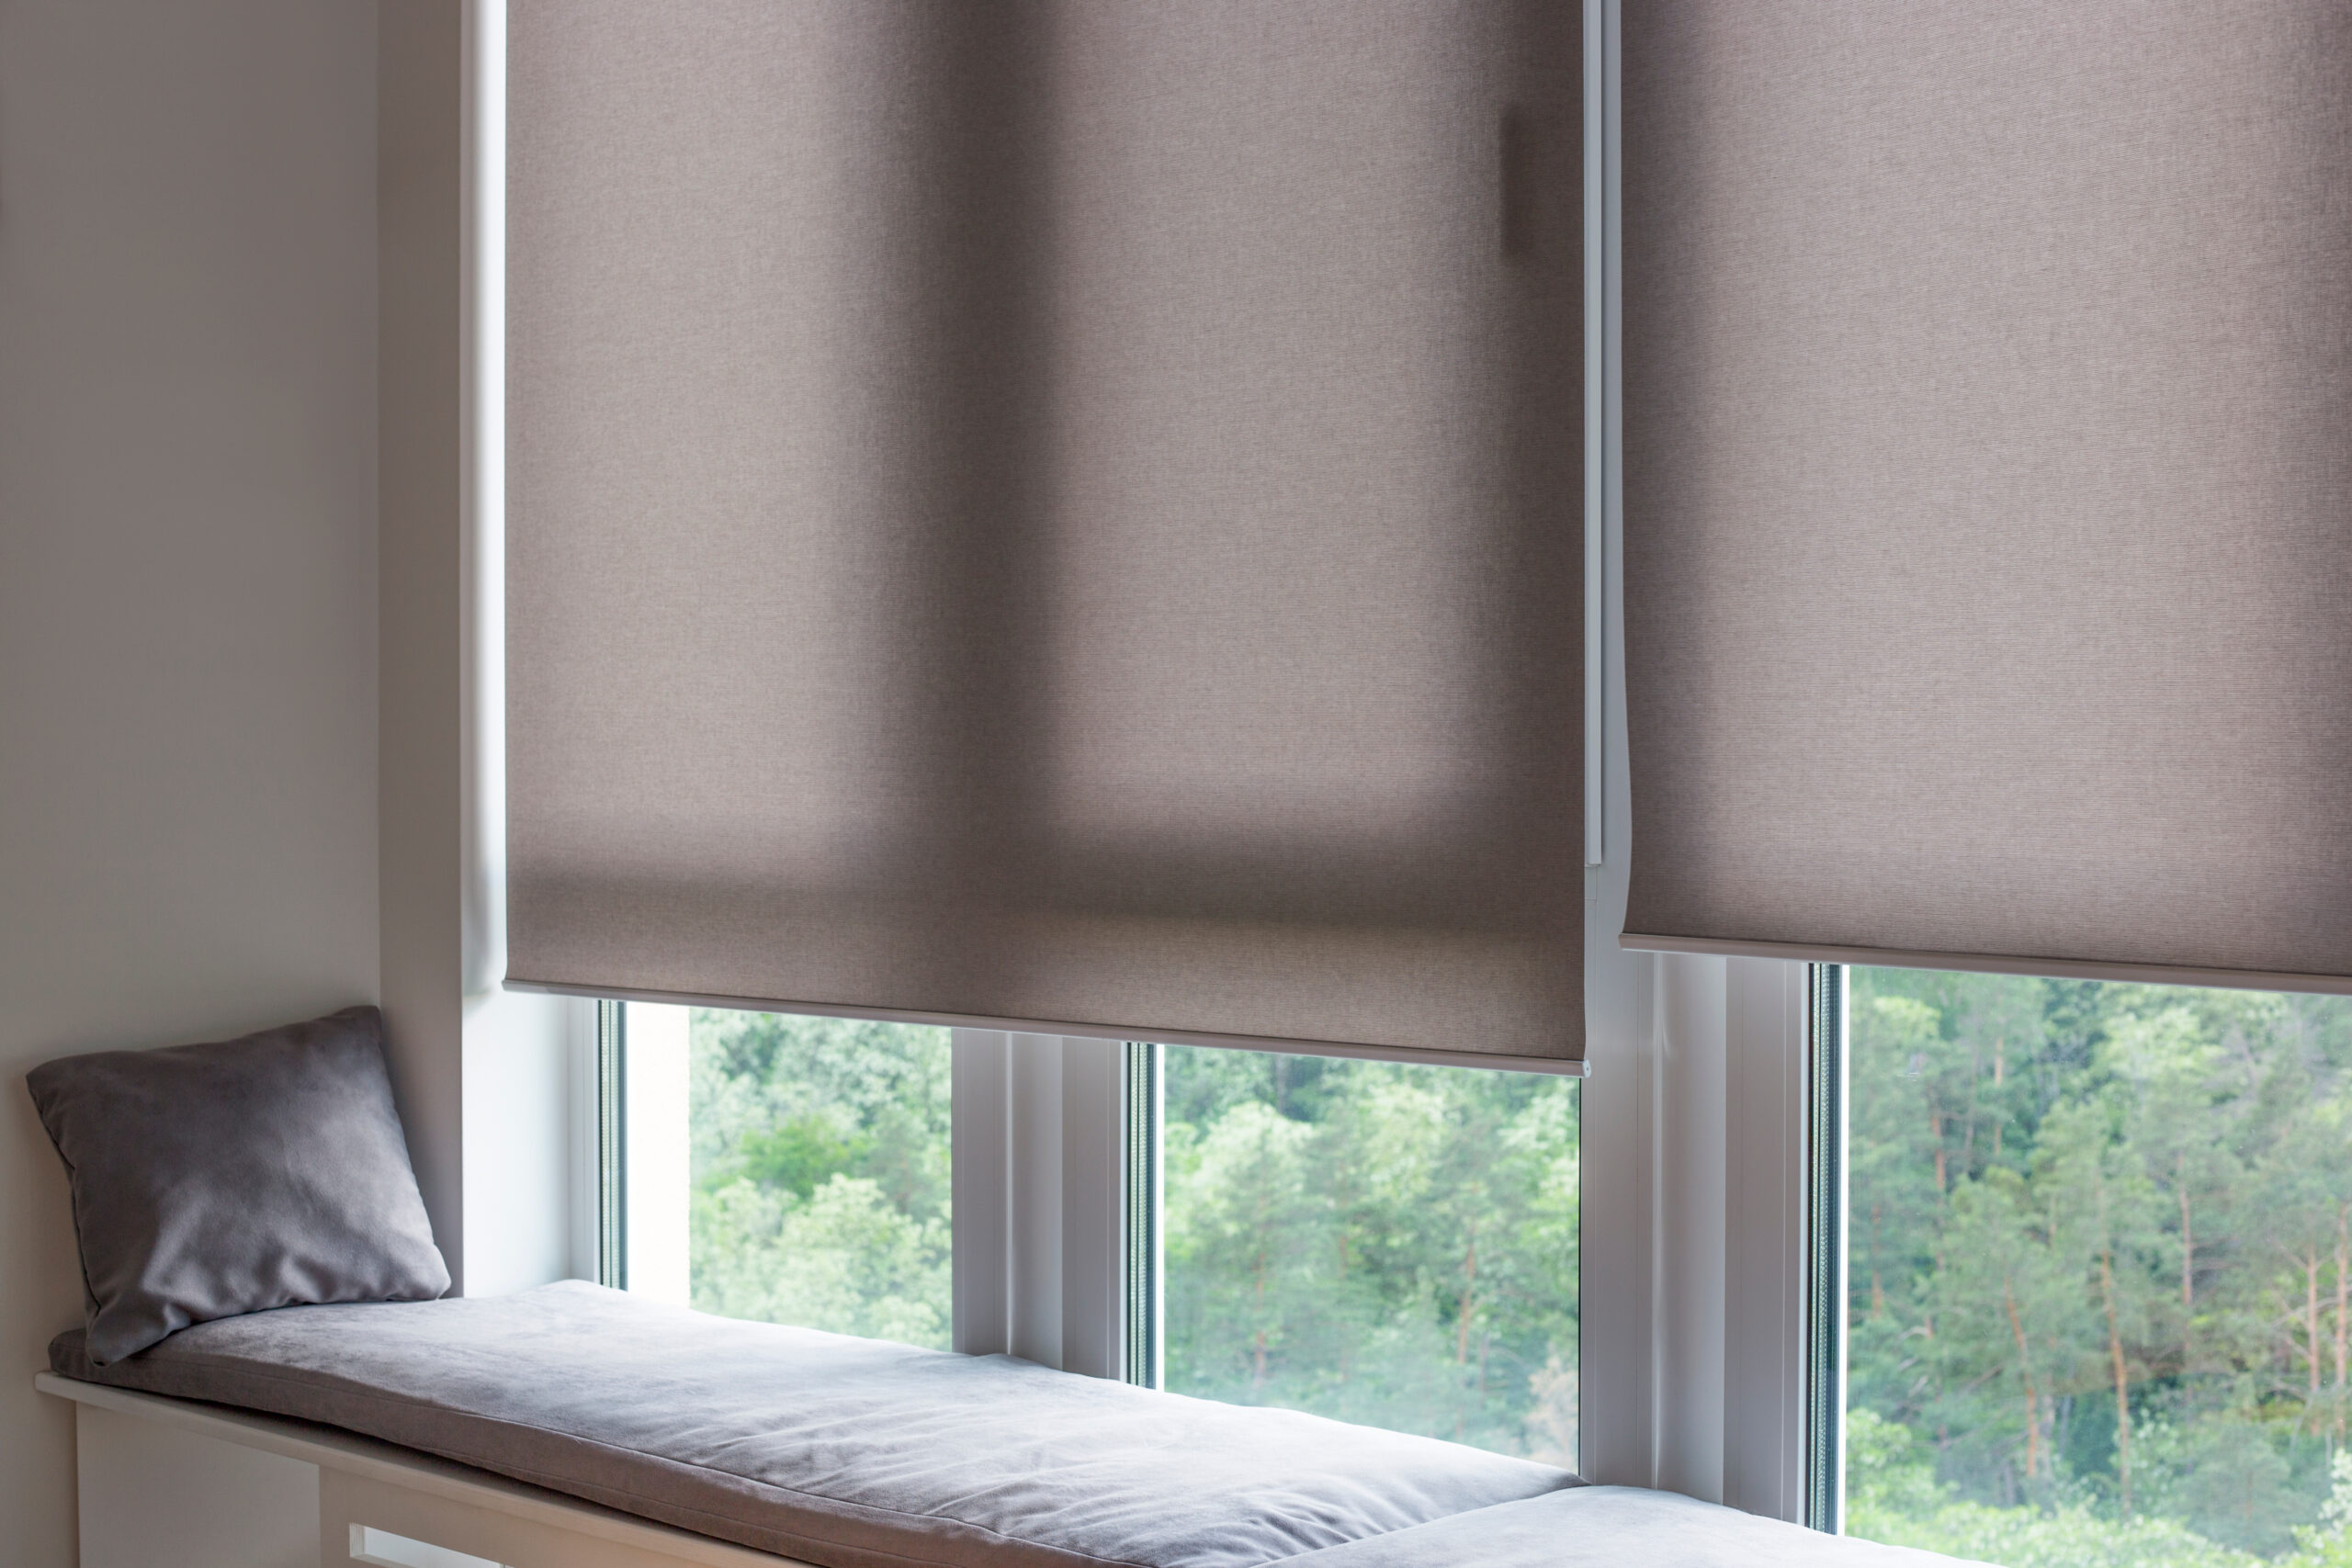
I’ve heard a lot of homeowners complaining about the installation of vertical blinds. So, here’s a thorough guide that will help you install vertical blinds – be it mounted inside or outside the window frame.
Installing Inside the Window Frame

Drill Holes In The Valance
The valance is L-shaped, allowing the top surface to be installed inside the upper frame and the front of the valance to conceal the headrail. Place the valance on a level surface so that the front of the valance is erect.
Measure approximately 3- 4 inches from each end and place each bracket so that the top edge is flush with the upright valance. Mark the two screw holes in each bracket with a pencil. Then, predrill the four holes using a smaller bit than the screws you want to use (if possible).
Mark The Placement Of The Bracket On The Frame
Make holes for the brackets on the inside of the door or window’s top frame.
Measure 3 to 4 inches from the frame’s side and 1 inch (2.5 cm) away from the glass.
Hold the first bracket in position, insert a screw into the first hole, and create a mark with a hammer. In the second hold, make another mark.
Repeat for the second bracket on the other side.
Connect The Components
Fix the valance and brackets to the inside of the frame. Place the valance in the window so that the marks you created in the upper frame are visible through the valance’s holes.
Insert The Headrail
Hook the front end of the blinds head rail into the clip and then elevate the rear end until it snaps into place. And, then attach the vanes.
Outside the Window Frame Mounting
Find The Headrail
Determine the position of the headrail of the blinds over the window.
Choose a place around the middle of the window where you want the bottom of the blinds to reach.
Make a pencil mark at the height of the blinds up to the top of the window from that point.
Make A Note Of Where The Brackets Should Go
This phase will need the assistance of another person.
Allow a helper to position the headrail directly on the pencil mark while you use a level to ensure it’s straight. Make a pencil mark exactly over the headrail about 4-5 inches from the end of the headrail.
Rep on the other end for the second bracket. Mark the position of the additional support brackets provided if installing vertical blinds wider than 62 inches.
To Attach The Brackets To The Wall, Use The Provided Screws
Drill a hole and install wall anchors first if the brackets are to be affixed to drywall rather than a wood frame surrounding the window.
Insert The Headrail
Attach the headrail to the brackets.
Connect The Vanes
If you’re not sure how to accomplish it, see the part on connecting the vanes later in the text.
Put Up The Valance
If you like, you may add a valance, which is already included. Attach the side pieces after pushing the corners into each end of the valance’s front piece. Snap the clips supplied along the headrail and then insert the clips into the valance.
Important Tips About Connecting The Vanes

- Distribute the vanes evenly. Pull the blinds cord to equally space the stems that will support the individual vanes (or louvers).
- Turn the stems. Rotate the stems to reveal the slits.
- Connect the vane. Push the end of the first vane with a hole up into the slit until the hook catches in the hole.
- Attach the remaining vanes to their stems. Attach the additional vanes using the same method, ensuring sure they all face the same way (if they’re bent). When you’re finished, put the stems to the test.


