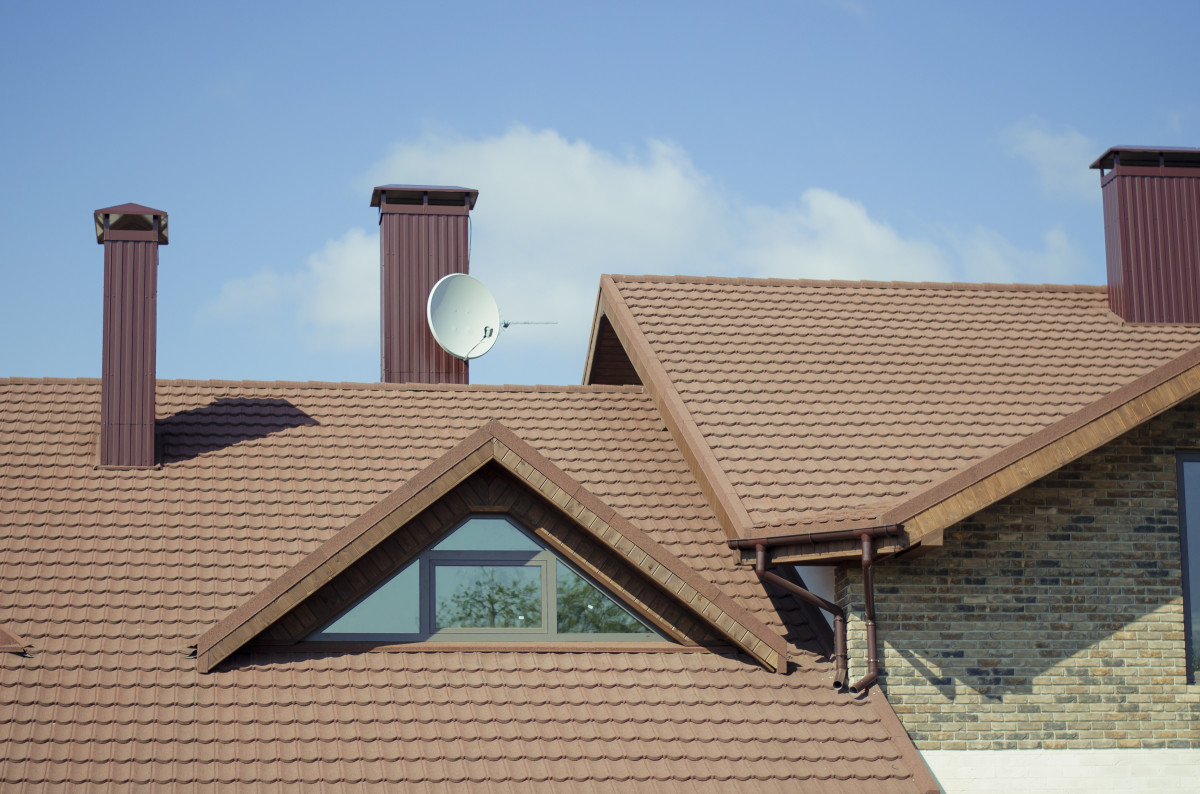
How to Lay Roof Tiles
Summary
– Step 1: Prepare the tile installation site
– Step 2: Lay the battens on the roof
– Step 3: Lay the tiles on the roof
– Step 4: Laying the edge tiles
Laying tiles is not for everyone; this type of work requires being in good physical condition, especially not having vertigo. The installation of a tiled roof is also conditioned by safety, whether during the climb or the numerous movements on the roof. Method and good organization of the site are essential. Here is how to lay tiles, step by step.
1. Prepare the tile installation site

– Start by preparing a large, clear area to deliver and store the tiles.
– Then, set up the scaffolding along the house.
2. Lay the battens on the roof

Laths are structural members that support the roof covering. They are regularly nailed to the frame rafters, with a spacing calculated according to the roof covering. Therefore, it would help to call on professional roofers to do the job as it is meant to be! This step is essential for the roofing to hold and must be done perfectly.
Prepare a wedge for liteauning
The liteaunage consists in assembling the battens.
– Place 2 tiles, one on top of the other, as you would do on the roof.
– Measure the distance between the 2 nipples (hooks) of the 2 tiles.
– Subtract the width of one batten from this measurement.
– This gives you the distance between the battens that will be laid on the roof.
– Cut a piece of batten at this measurement: it will be used as a wedge to set the battens.
Laying the battens
The battens are installed from the bottom to the top, starting on the edge strip (which will be used to install the gutter).
– Place the wedge on a rafter along the edge strip.
– Position a batten above the pin and nail it to the rafters.
– Repeat the operation by placing the wedge on the batten you have just fixed.
– Work your way up to the top of the roof.
3. Place the tiles on the roof

Once the battens have been assembled, you can proceed to lay the tiles.
– Start the installation at the low left point of the roof.
– Lay the tiles by fitting them on top of each other and wedging the nipples on the battens. The tiles are laid from left to right on the first row.
– Lay the following rows, always wedging the nipples on the battens.
– Then, nail the tiles onto the battens, using the hole provided for this purpose, every 3 tiles.
– Work by zone: this will allow you to move around the roof more easily.
– Then, store several packs of 5 tiles maximum on the roof to make the work easier.
Necessary: regularly check the alignment of the tiles, if necessary, readjusting with your foot.
4. Laying the edge tiles

The edge tiles are laid along the edge of the roof.
– Drill the first edge tile, which will be attached to a batten, using a concrete drill bit, without the percussion mode.
– Place it on edge and screw it into the batten.
– Apply silicone at the drilling location to ensure a watertight seal.
– Continue the installation in the same manner along the edge of the roof.
Materials needed to install tiles
Flat head nails
Scaffolding
Hammer
Drill
Hand saw
Screws


