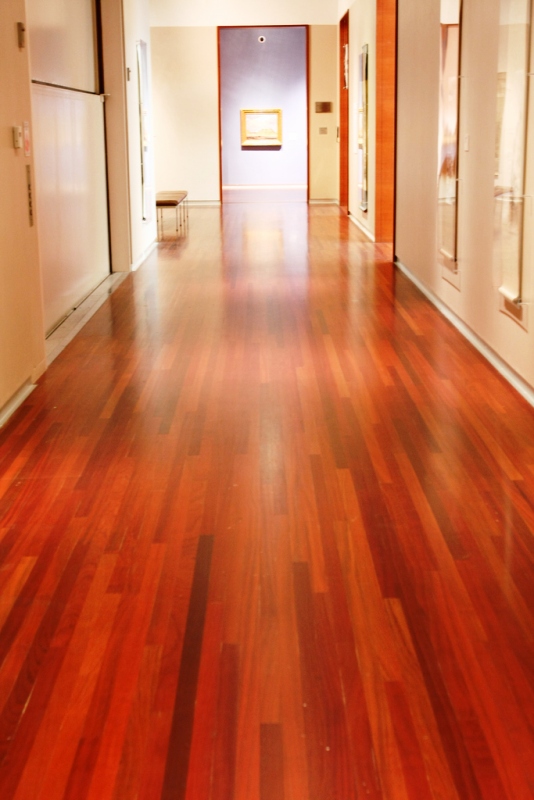
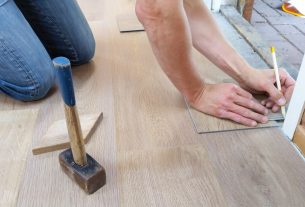
When it comes to preparing your wooden floor for a new covering like carpet, tile, or linoleum, achieving a level surface is crucial. Levelling a wooden floor is the process of ensuring its entire surface is even and free of defects such as holes, cracks, and hollows. While minor imperfections can be addressed with wood paste, a complete levelling becomes necessary when the floor exhibits substantial irregularities over a larger area.
Whether you’re working with a cement or parquet floor, the levelling technique remains the same, but for a wooden base, a fibrous levelling mortar is used. In this guide, we’ll take you through the steps to successfully level a wooden floor. Proper levelling not only contributes to a smoother and more professional-looking finish but also ensures the longevity of your new floor covering. So, let’s dive into the process, from assessing the condition of your floor to applying the fibre-reinforced levelling mortar and getting your surface ready for the next flooring project.
Step 1: Assess the Flatness of the Wood Floor
Before diving into the levelling process, it’s essential to evaluate the flatness of your wood floor. Start by examining the surface for any irregularities, including hollows, cracks, and loose strips. If these irregularities are minor (less than 7mm in difference), you can easily fix them with wood filler. However, if your floor has more significant variations, levelling is a necessary step.
Step 2: Preparing the Wooden Floor
Before proceeding with levelling, you need to prepare the wooden floor adequately. Follow these steps:
Secure Loose Slats and Fill Cracks
Check the floor for any slats that may be loose and fill any visible cracks with wood filler. This ensures that the surface is even and ready for levelling.
Remove Protruding Nails
Inspect the floor for any protruding nails and remove them. Protruding nails can affect the levelling process and the new floor covering.
Sand and Vacuum the Floor
Use sandpaper to sand the floor, creating a smooth and even surface. After sanding, thoroughly vacuum the floor to remove any dust or debris.
Ensure Proper Ventilation
It’s essential to maintain proper ventilation under the floorboards to prevent moisture-related issues. This ventilation helps avoid potential floor warping or rotting.
Step 3: Preparing the Fibre-Reinforced Levelling Mortar
Fibre-reinforced levelling mortar is a self-levelling material that’s easy to work with. Here’s how to prepare it:
Mixing the Mortar
In a trough or mason’s bucket, mix the mortar powder with water according to the proportions specified on the package. Ensure a smooth and fluid mixture without it being overly liquid.
Let It Rest
Allow the mixture to rest for approximately two minutes. This brief resting period helps achieve the right consistency.
Step 4: Applying the Levelling Mortar
With the fibre-reinforced levelling mortar prepared, you can now proceed to apply it to your wooden floor. Here’s how:
Begin Pouring and Spreading
Start pouring the mortar onto the floor, working in successive areas. It’s advisable to start from the side opposite the door and finish at the door’s entrance to avoid getting trapped in the room.
Use a Smoothing Trowel
A smoothing trowel, also known as a Flemish trowel, is the ideal tool for spreading the mortar. Apply the mortar with horizontal movements, moving from right to left and left to right. Aim for a consistent layer that’s approximately 30mm thick.
Drying Time
Allow the levelling mortar to dry for the recommended time specified on the package. During this period, it’s important to avoid exposing the area to drafts or excessive heat.
Prepare for the New Floor Covering
Once the levelling mortar is dry, wait for three days before installing your new floor covering. This allows ample time for the mortar to set and provide a solid foundation.
Additional Tips: If, after the levelling mortar has dried, you notice slight unevenness on the surface, you can sand the floor to achieve a smoother finish. For significant imbalances, consider applying a second layer of self-levelling mortar following the same procedure as the initial application.
Materials Needed for Levelling a Wood Floor
To complete the levelling process successfully, you’ll need the following materials:
– Levelling compound
– Smoothing machine
– Drill with mixing whip
– 2m aluminium ruler
– Mason’s bucket
In conclusion, levelling a wooden floor is a crucial step to ensure the evenness and stability of your flooring surface. By assessing the flatness of your wood floor and properly preparing it, you can determine whether levelling is necessary. If your floor has significant irregularities, using a fibre-reinforced levelling mortar can help create a smooth and uniform base for your new floor covering.
Proper preparation, including securing loose slats, filling cracks, and addressing any protruding nails, is essential to achieve the best levelling results. Additionally, sanding and vacuuming the floor not only provide a clean surface but also improve the adhesion of the levelling mortar.
It’s vital to pay attention to the drying time and ventilation to ensure that the levelling mortar sets correctly. After the levelling process is complete, you’ll have a solid foundation for your new floor covering. If minor imperfections are visible after drying, a bit of sanding can provide a smoother finish. For more significant irregularities, consider applying a second layer of self-levelling mortar.
By following these steps and tips, you can confidently level your wooden floor, creating an even and stable surface that’s ready for your choice of flooring, whether it’s carpet, tile, or linoleum. A well-levelled floor not only enhances the aesthetics of your space but also contributes to the longevity of your new floor covering.


