Installing Ceiling Moulding: What You Should Know
Contents
– Ceiling moulding: discreet but refined
– What material for ceiling moulding?
– Installing ceiling moulding: a quick job for the DIY enthusiasts!
– Installing a rosette to hide a fastener
– Ceiling moulding price: depending on the material
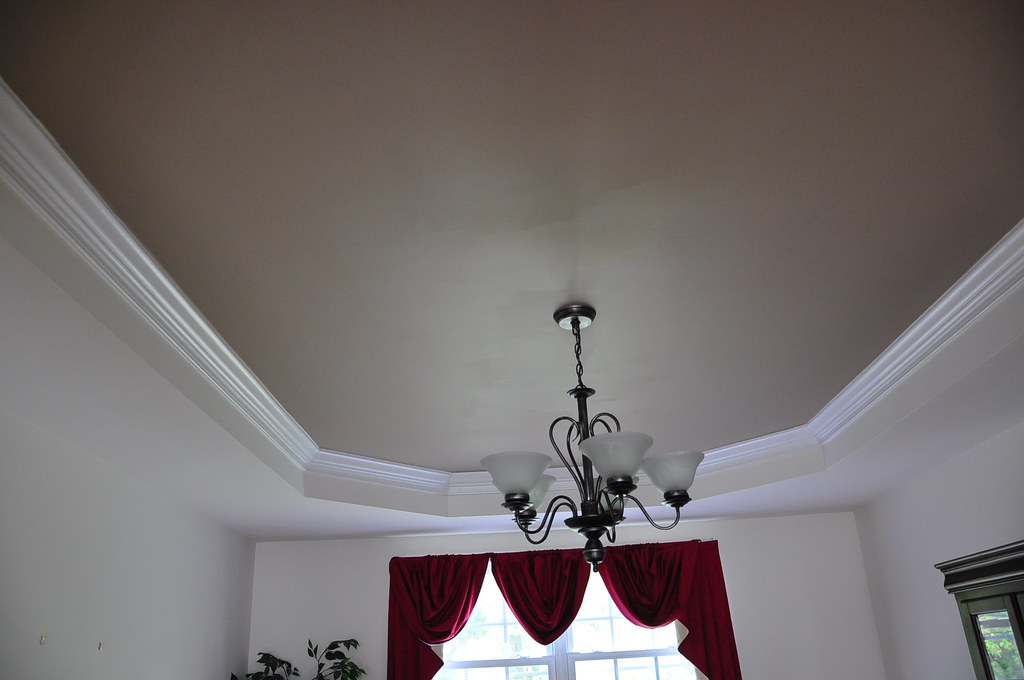
The refinement of interior decoration can be expressed even in the decoration of the ceilings: ornaments of all shapes, modern, classic or extravagant.
The choice is vast among the ceiling decorations:
– false beam,
– cornice,
– ceiling moulding.
Ceiling moulding: discreet but refined
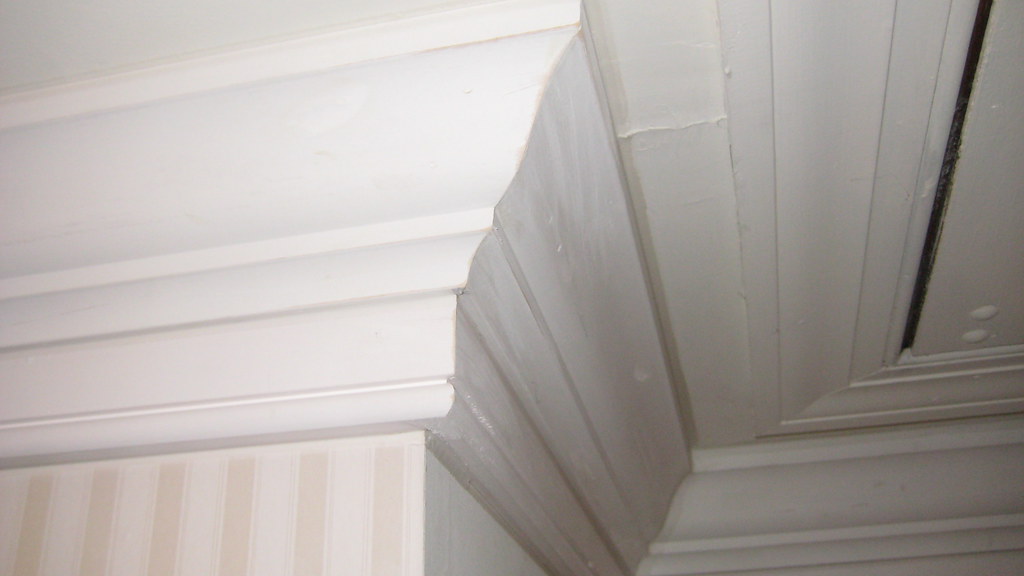
Ceiling mouldings can have curves and shapes of great elegance.
The various mouldings allow the enhancement of your ceiling: Regency, Louis XV, Moorish or art deco …
Mouldings take the form of rosettes and domes attached to the ceiling, for example, around a chandelier.
What material for ceiling moulding?
Ceiling moulding is available in different materials:
Plaster
– The best finish.
– A vast choice of shapes and finishes.
– The most expensive: a staffer can even create a model on request or by copying.
Polystyrene
– Very average finish.
– Low price.
Wood
– Heavy, therefore less suitable for ceilings than for walls.
– Quite expensive.
Polyurethane
– Quite a nice finish.
– A little more expensive.
Installing ceiling moulding: easy job for a DIY enthusiast
The moulding installation is accessible to all: it is enough to prepare clean and dry support.
The installation is done by gluing:
– Before gluing, locate the rosette and trace its support line on the ceiling.
– Apply the glue, press firmly and remove the excess glue.
– Double glue the polystyrene and the plaster.
– Mask the joints (if any) between the different elements with filler applied with a spatula or finger.
After drying, gently sand the joints with fine-grit sandpaper and dust off the moulding can then be painted with acrylic or vinyl paint.
Installing a rosette to hide a fixing
Don’t forget to turn off the power while installing the rosette.
The rose is a highly decorative element that also has the function of masking a light fixture.
Make a cut of a few centimetres for the passage of electrical wires.
The installation is done in the same way as simple moulding.
Take care of the jointing; the light distributed by the light fixture makes it visible.
Ceiling moulding price: depending on the material
The budget for decorating your ceiling with mouldings depends on the material you choose, the shape you want, and the moulding dimensions.
Here are the indicative prices for mouldings:
Ceiling moulding: some indicative prices
|
Rosette |
Cupola |
|
|---|---|---|
|
Plaster |
$50 à $350 |
$50 à $250 |
|
Wood |
$60 à $300 |
$60 à $300 |
|
Polystyrene |
$20 à $60 |
$20 à $60 |
|
Polyurethane |
$60 à $200 |
$60 à $200 |
Note well: These are indicative prices that have probably changed since covid 19 or since the time prices have shot up!
If you are not too good at DIY tasks like ceiling moulding.
EN-ERS STUCCO repair, restore and insulate exterior wall surfaces, as well as install your stone veneers and other decorative mouldings.
Hoping this post has been informative to you. Get ready for our upcoming article on how to renovate your ceiling and walls. Stay posted for our regular postings, and please do not hesitate to request more information on a particular topic of your specific interest. We are more than happy to help, so remember to leave your comments below and tell us about your experience with your walls. We like to hear from you!
