2 Easy Steps to Caulk Your Windows
Summary
– Step 1: Prepare the window for caulking
– Step 2: Solution 1: Caulk with adhesive foam gaskets
– Solution 2: Use rubber adhesive gaskets
– Solution 3: Install plastic adhesive gaskets
– Solution 4: Nail metal gaskets
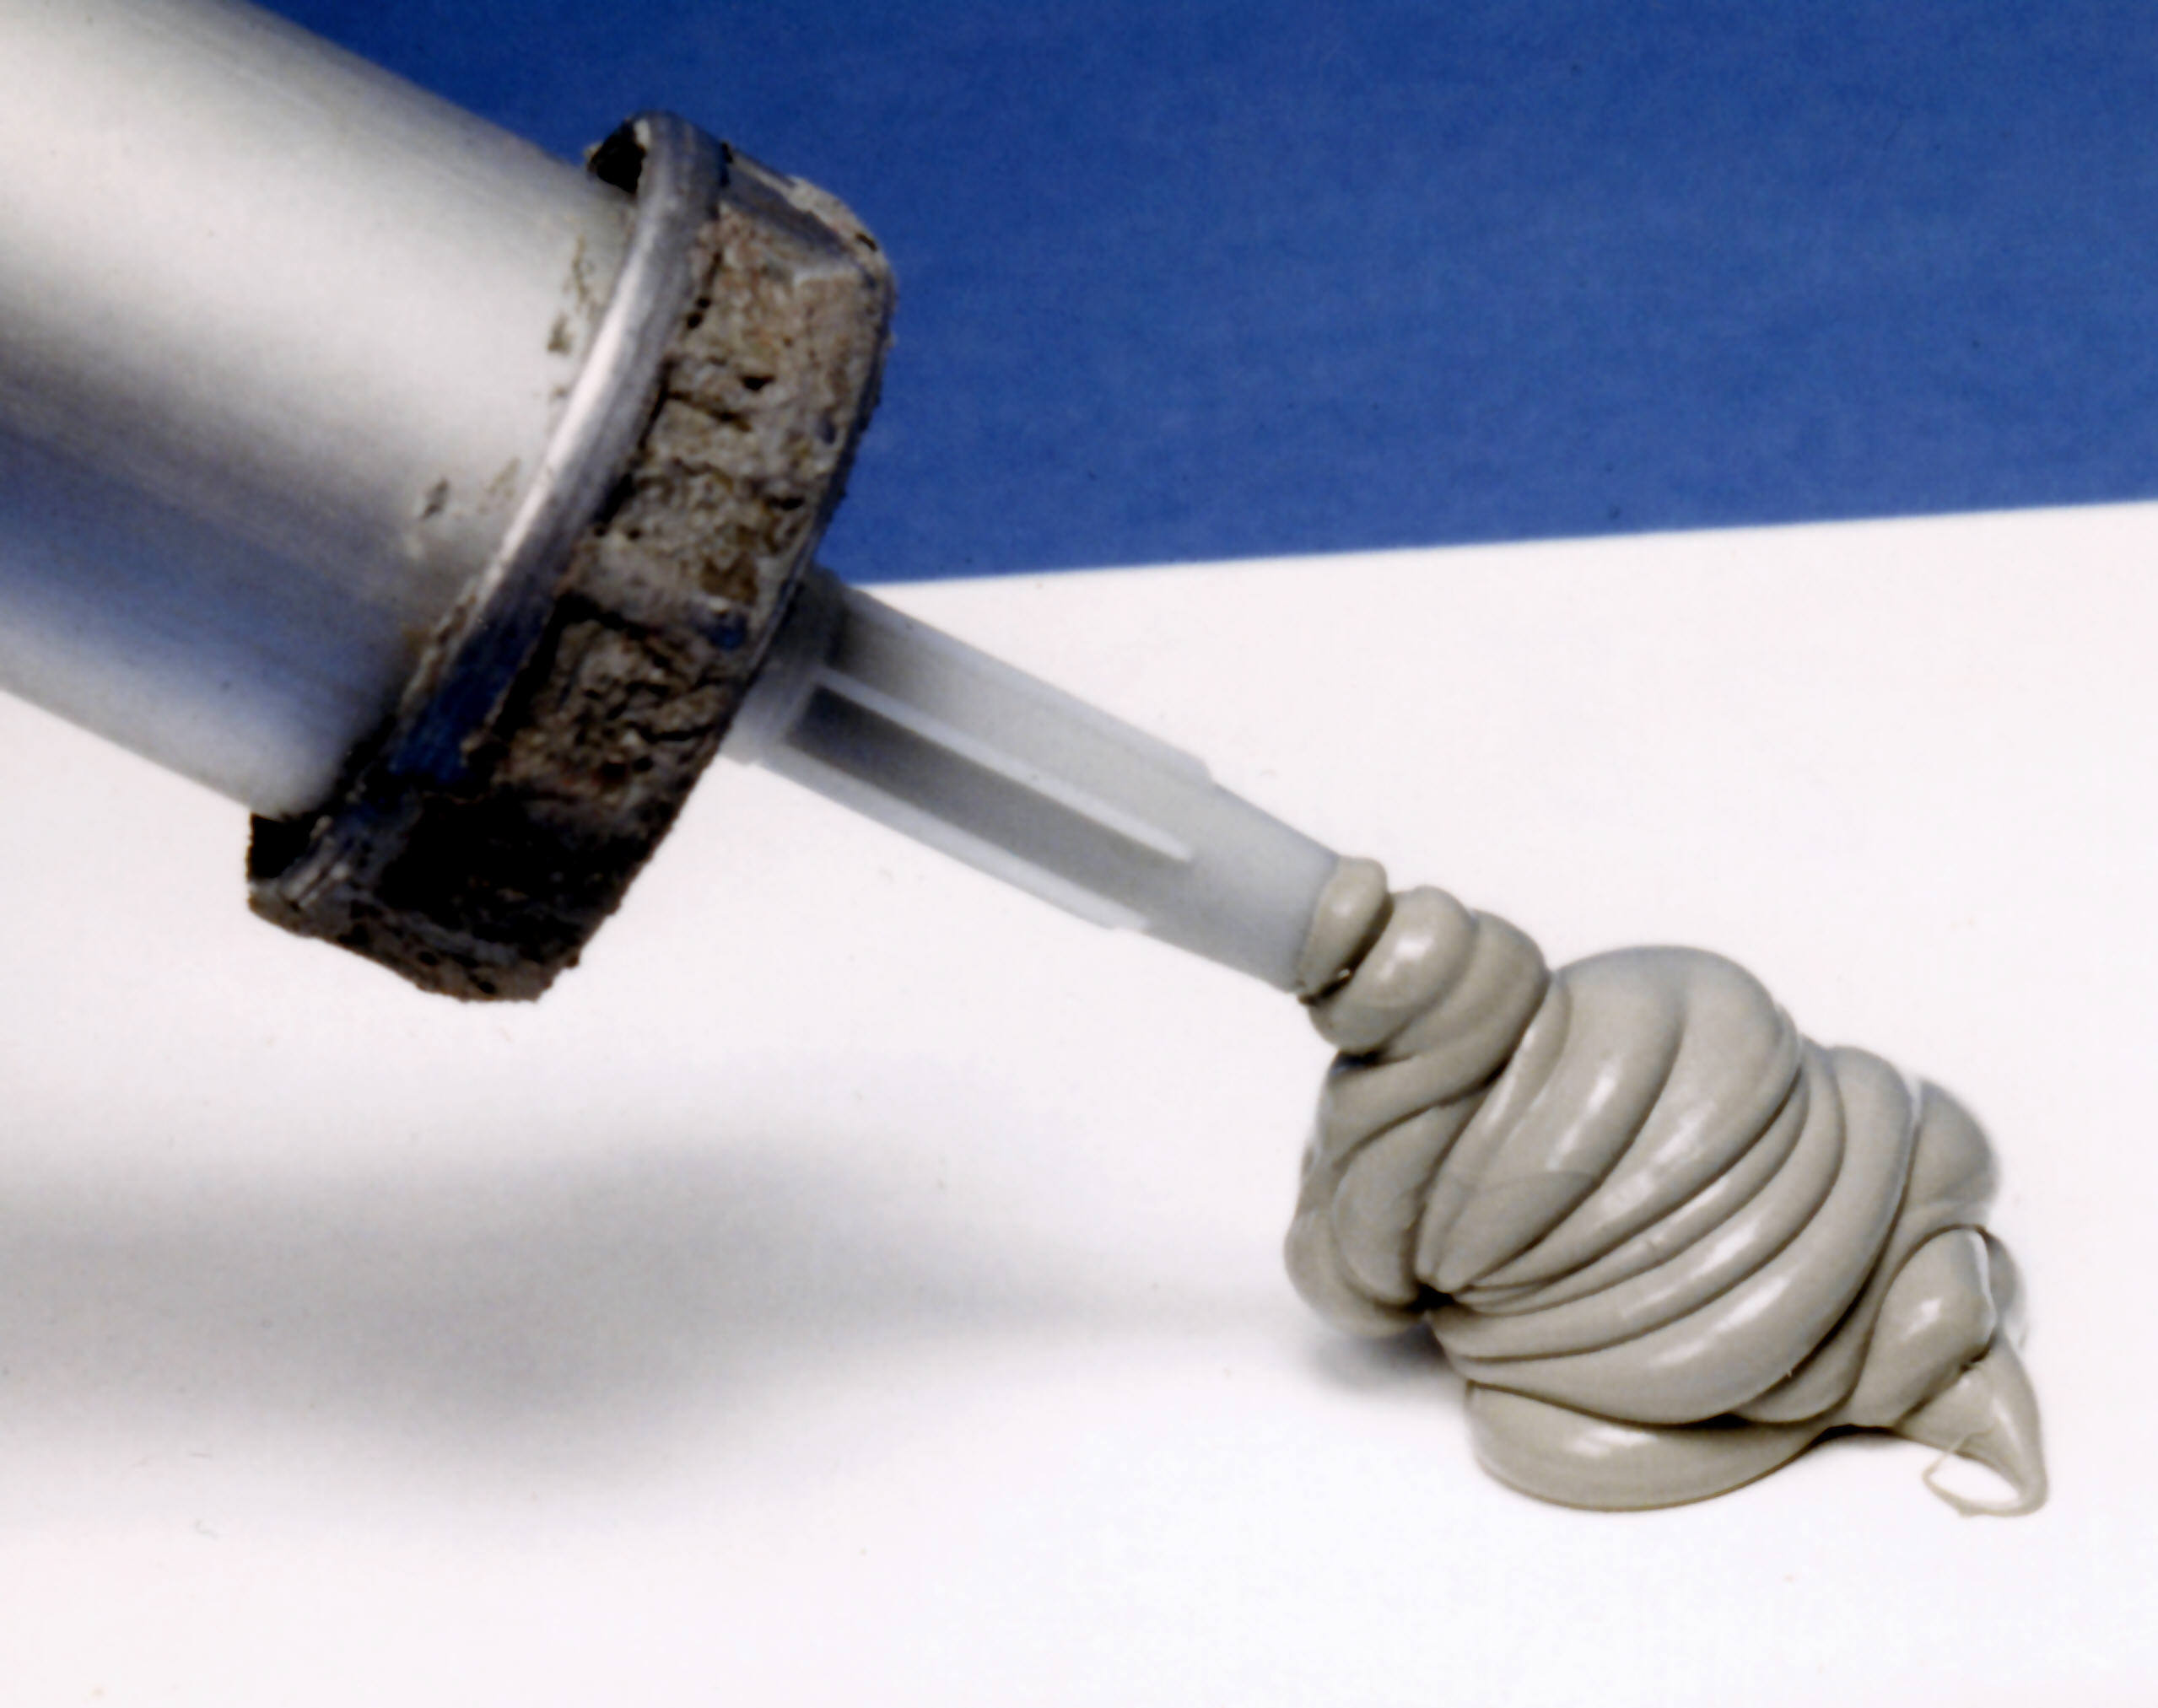
– Solution 5: Apply a silicone sealant
Part of the heat loss in your house is due to old windows often poorly insulated. You have to pass your hand in front of them to feel the cold air coming in. The solution to reducing these energy losses is to caulk the windows with self-adhesive foam or rubber gaskets, nail-on metal gaskets, or silicone sealant.
Here’s how to caulk a window.
Materials needed to caulk a window.
| Rubbing alcohol |
|
Basin |
|
Brush |
|
Wire brush |
|
Cloth |
|
Paper scissors |
|
Cutter |
|
Sponge |
|
Joint scraper |
|
Adhesive gasket |
|
Rubber gasket |
|
Metal gasket |
|
Foam gasket |
|
Plastic V-gasket |
|
Alkaline detergent |
|
Hammer |
|
Silicone sealant |
|
Tape measure |
|
Needle nose pliers |
|
Putty gun |
1. Prepare the window for caulking
Prepare the window by removing old gaskets if they are in poor condition and clean the surfaces to be caulked:
– Remove poor condition gaskets with a cutter or gasket scraper.
– Dust the surface to be caulked with a soft bristle brush.
– Degrease the window frame rebate with rubbing alcohol.
– Then, clean the surface with St. Mark’s alkaline detergent.
– Rinse and let dry.
Important: a good cleaning is essential for the seals to adhere perfectly.
2. Solution 1: Caulk with adhesive foam gaskets
Foam adhesive gaskets come in the form of self-adhesive tapes. Apply them as follows:
– Open the window.
– Starting at an angle, apply the tape to the window frame, peeling the protective film from the adhesive side as you go.
– Press down hard on the seal to secure it.
– Go around the rebate and cut the end with scissors.
Good to know: this type of self-adhesive joint has the disadvantage of not being very resistant over time.
Solution 2: Use rubber adhesive gaskets
Adhesive rubber gaskets also come in the form of self-adhesive tapes and have the advantage of being more resistant than foam gaskets. To install them :
– Open the window.
– Starting at an angle, apply the tape to the window frame, removing the protective film from the sticky side as you go.
– Press down hard on the seal to secure it.
– Once you’ve gone around the rabbet, trim the end with scissors.
Tip: this type of seal has the particularity of being made of 2 parts. For better insulation with a double bead, fold the seal outward. If the window rebate is not wide enough, split the roll in two.
Solution 3: Install plastic gaskets
Plastic gaskets perform well and last a long time. They are installed in the same way as the previous ones, against the window frame:
– Open the window.
– Apply the tape with the adhesive side against the window frame, starting from a corner.
– Remove the protective film from the adhesive side as you go along.
– Fold the seal back on itself to form a V shape with the open side facing out.
– When the window is closed, it folds back the gasket, which, by this action, perfectly hugs the air intakes and prevents them from passing through.
– Take care to make the connections in the corners.
Important: this type of seal is only self-adhesive for half its width.
Solution 4: Nail metal gaskets
Metal gaskets are nailed into the window rebate with spikes. This type of joint has the advantage of being durable and robust.
– Measure and cut a strip of metal gasket with scissors to the size of the area to be caulked.
– For ease of corner joints, bevel the cuts.
Necessary: Hold your gasket strip with a pair of pliers to avoid injury from the hammer.
– Nail the fixed part of the joint into the rebate with short flat-headed nails.
– Slightly raise the un-nailed portion of the metal gasket with a rounded tool.
– When the window is closed, it compresses the gasket like a spring and prevents air from entering.
Solution 5: Apply a silicone sealant

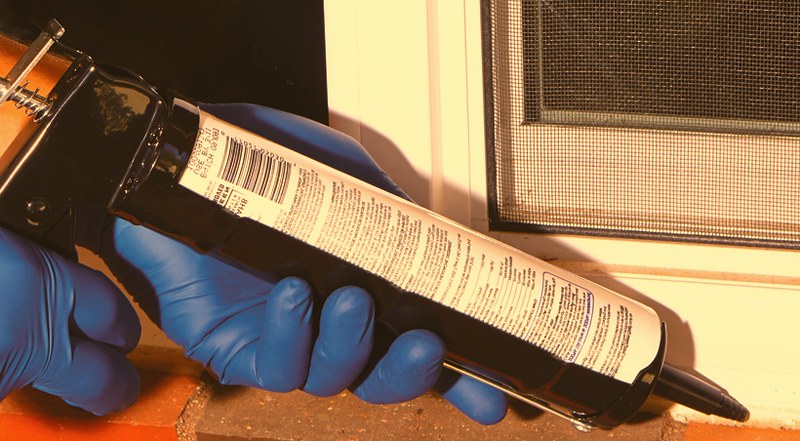
– Apply silicone sealant directly into the window rebate, generously filling the gaps.
– To allow the silicone sealant to fill in the recesses of the surfaces after the window is closed while not sticking to the window while it dries, brush on a non-stick product (sold with the sealant) or apply a plastic film (sold with the sealant).
– Close the window to print the optimal shape and leave it closed for 24 hours.
– Open the window and, if so, remove the plastic sheet that no longer sticks to the silicone.
– The window is now effectively caulked.
Hope this post helps you. Remember to share your experience in the comments below.


1 thought on “2 Easy Steps to Caulk Your Windows”