How Does Roof Sarking Work
Do you need to re-roof your house? Why not take advantage of this to improve your insulation? Do you want to insulate your converted attic, but the ceiling height is already limited? Then sarking is for you! Let’s find out together.
Roof sarking: what is it?
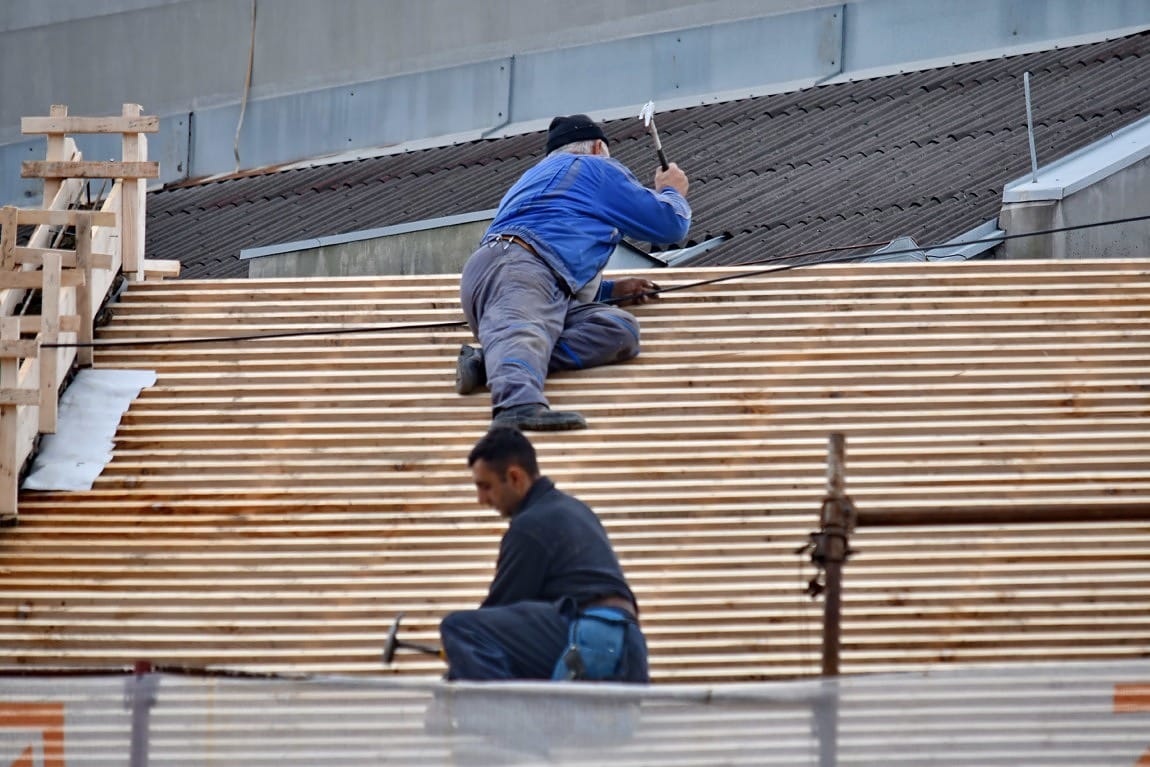
Sarking is the process of insulating a roof from above, i.e., from the outside, with continuous insulation (without a through framework) between the roof structure and the roofing (tiles, slates, etc.).
More precisely, insulation boards are fixed above the rafters. The entire roof structure can then remain visible.
Good to know: The rafters are parts of the roof structure that support the tiles or other roofing elements. They connect the top of the roof (ridge) to the bottom of the roof (front wall). They are usually 5 x 7 cm or 6 x 8 cm in cross-section, but can also be higher, e.g. 5.5 x 22 cm, to allow thicker insulation between the rafters.
How does sarking work?
Not just any material can be used for sarking. Instead, you will need to use a rigid insulation material. This is sandwiched between the rafters and another piece of wood, a counter-batten, which is at least 4 cm thick.
The composition of the roof from top to bottom will be as follows:
Tiles or slate or other roofing material
Battens: a long piece of wood of a few centimetres in cross-section;
Counter battens (also called “counter rafters”) are fixed to the rafters through the insulation with very large screws. This counter-battening constitutes a ventilated air space. The thicker this air space, the more it will contribute to summer comfort (ideally 8 cm);
Rain screen (also called “under-roof screen”) can be either a film or a wood felt panel. In all cases, it must have a high vapour permeability to allow water vapour to escape and limit the risk of condensation;
Rigid insulation boards: e.g. high density wood fibre
Rafters, usually with insulation between the rafters. If the rafters are to be kept exposed, they should be located under the vapour barrier;
Membrane for airtightness and water vapour control: vapour retarder (or vapour barrier);
Non-ventilated air space and internal facing: usually plasterboard
Caution: the installation of sarking insulation requires special technical skills, particularly for the fixing of the counter-battening. In all cases, you should refer to specific technical notices for each type of insulation.
What are the advantages and disadvantages of sarking?
The continuity of the insulation on the one hand and the airtightness on the other must be carefully managed between the roof and the walls.
Caution: The installation of sarking insulation cannot be improvised. Only a professional can carry it out. In particular, he or she must follow the technical data sheets of the chosen insulation manufacturer to the letter.
This technique has many advantages:
It contributes to the airtightness of the building;
The continuity of the insulation allows for more efficient insulation by avoiding numerous thermal bridges (discontinuity of the insulation);
This solution is particularly suitable for renovation when:
there is a limit to the ceiling height of the converted attic;
you want to keep the exposed roof structure;
This solution is particularly suitable for renovation when: the ceiling height of the converted attic is limited, and you wish to keep the exposed roof structure; it allows you to manage both a re-roofing and high-performance insulation.
The major disadvantage of this technique is its cost. Indeed, the technical nature of the technique and the fact that you have to work on the roof make it one of the most expensive solutions for roof insulation unless you have to re-roof it anyway.
